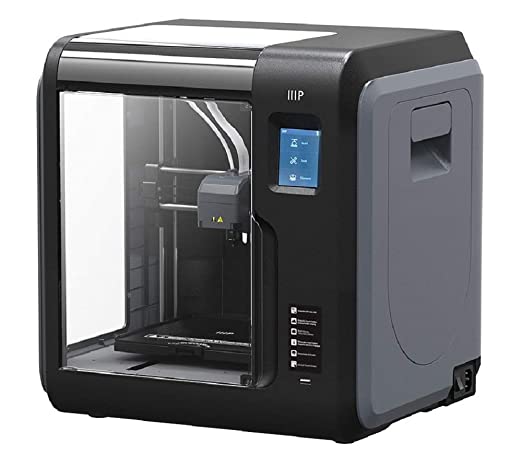
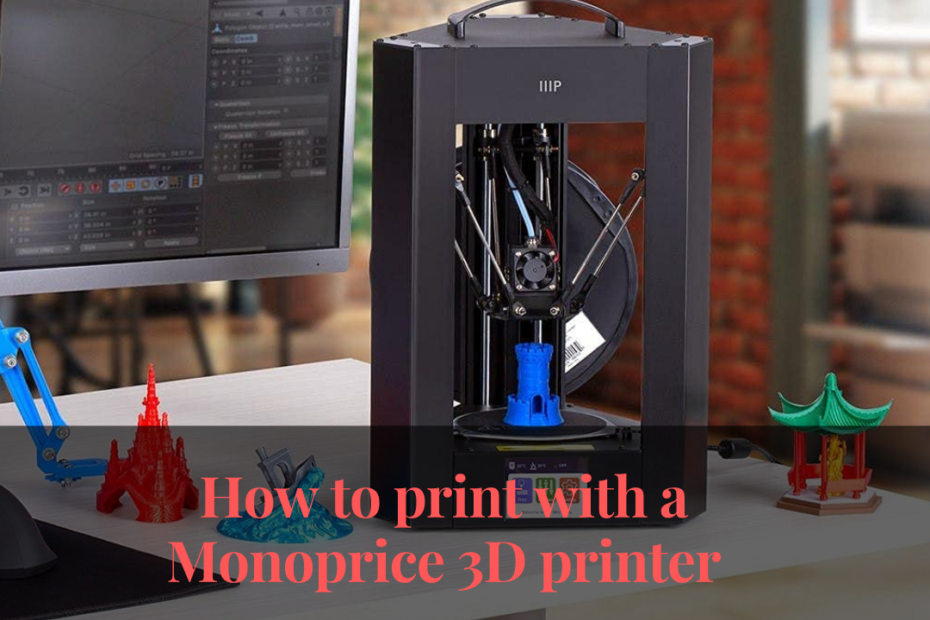
In this article, we will discuss how to print with a monoprice 3D printer. How to print with a Monoprice 3D printer is probably one of the first things you should know if you have just started to use a 3D printer for the first time. It is not very complicated or hard to understand.
What is a Monoprice 3D Printer?
There are many uses for a 3D printer and is undoubtedly one of the best machine gadgets to have in-home. However, it does not come at a cheap rate. There are different types of 3D printers available in the market, and each comes with its own unique features and uses. A Monoprice 3D printer is one of the best types of 3D printers available in the present market at a price range of 1000 US Dollars.
How to Use Monoprice 3D Printer?

To know how to print with a Monoprice 3D printer, you have to follow the steps that are mentioned below-
- At the very beginning unbox the printer that you have received or bought. After unboxing it, the supporting tape, wrappers, and supporting ties need to be removed.
- In the next step, the printer has to be plugged into an outlet with the power cable that is provided along with the printer.
- The SD card that is supplied along with the printer has to be inserted on the right side of the printer. The LCD display will most likely face you or the person who is setting up the printer.
- To power on the printer, you need to press the switch situated at the back of the printer.
- Into the feed motor, you need to insert the filament after squeezing the tab tension spring on the Feed mechanism.
- The tab needs to be released once you feel the resistance. It occurs only when it hits the extruder.
- The Print Entry in the menu can be highlighted by using the selector wheel. To select it you need to press the wheel.
- After that, you have to select one of the print files that are available on the SD card.
- You can start with the printing procedures once the extruder starts to heat up. It does not happen instantly and you have to wait for that.
- To ensure that the print does not fall, you need to stay and watch the first layers. If you run into a problem, you have to refer to the troubleshooting steps or contact the seller or customer service with respect to the printer.

The steps that are mentioned above are very easy to follow and it does not require too much time to understand. As mentioned earlier, the Monoprice 3D printer is one of the most affordable 3D printers that one can find on the market. It is a very efficient and value-for-money 3D printer that one can have in his home.
FAQ-
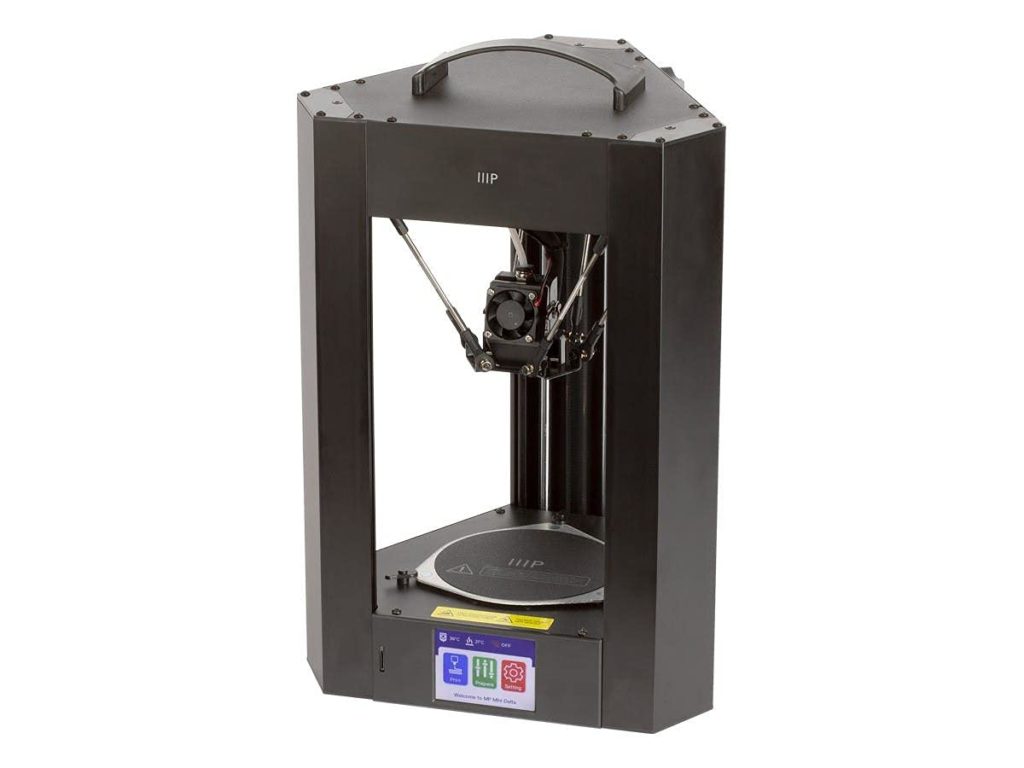
1. How to Use Monoprice Mini Delta 3D Printer?
Using a Monoprice mini delta 3D printer is also quite easy to understand and follow. Follow the steps mentioned below to know how to use the menu system.
- You can easily see the menu system that appears on the LCD screen of the printer.
- By pressing the top and bottom buttons to the right of the display, you can move the pointer or the menu selection highlight.
- The menu selection highlight or the pointer will move to the left or up by pressing the top button.
- Similarly, the menu selection highlight or the pointer will move to the right or down by pressing the bottom button.
- The value of an editing value gets increased by pressing the top button.
- The value of an editing value gets decreased by pressing the bottom button.
- The selected menu item or the edited value can be saved and activated by pressing the center button.
Besides knowing how to print with a Monoprice 3D printer and a mini delta 3D printer, you should know how to set up these two different devices. The setup process is the main part of these or any electronic gadgets. If anyone does not understand how to use them, he or she does not need to worry as there is always a user manual that is provided along with these devices.

I’m Susan Rockett, I am dedicated to providing effective solutions for all your printing needs. From troubleshooting common printer issues to recommending the best printers for your specific requirements, our website offers valuable insights and resources.
